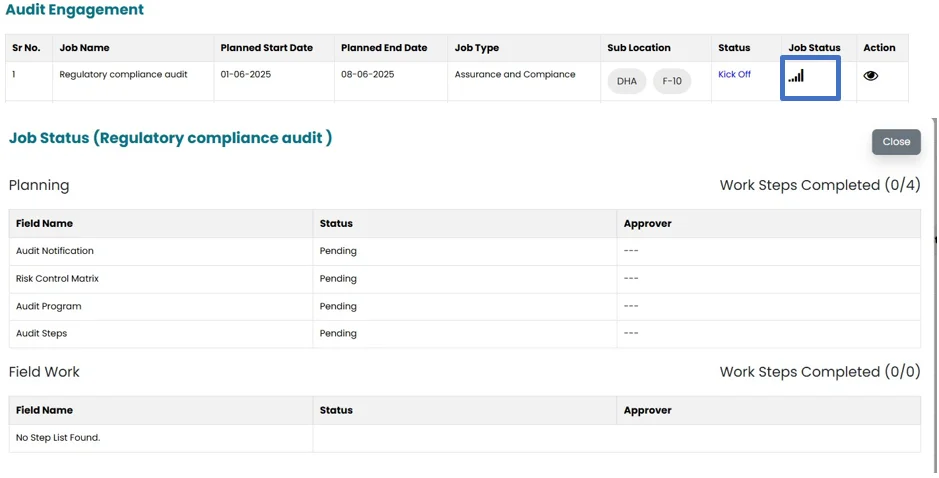
Under this section, List of all approved jobs are shown chronological order with the following information;
- Sr. #
- Job Name
- Planned Start Date
- Planned End Date
- Job Type
- Sub Location
- Status
This section represents whether the job is at “Kickoff”, “In-Progress” or “Complete”. - Job Status
By Clicking on the Job Status icon, you can see the work performed in detail
Note: Users will be able to see all the jobs assigned to them, while the Internal Audit Head will have the privilege to view and access all the jobs. Only the Resources assigned to the job will be able to access and view that particular Job
- To start the job, click on the “Kick Off” in the status section.

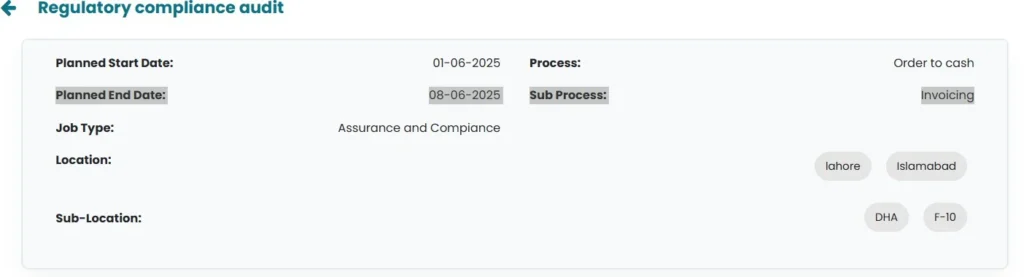
- Brief summary of job will be available on top mentioning Location, sub location, Head of internal audit, back up head of internal audit and proposed job approver
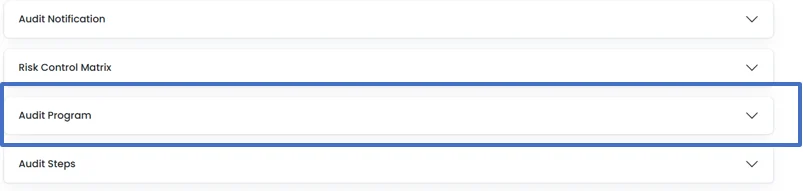
- Also following sections will open with drop-down
Audit Notification
Default Risk Control Matrix
Risk Control Matrix
Audit Program

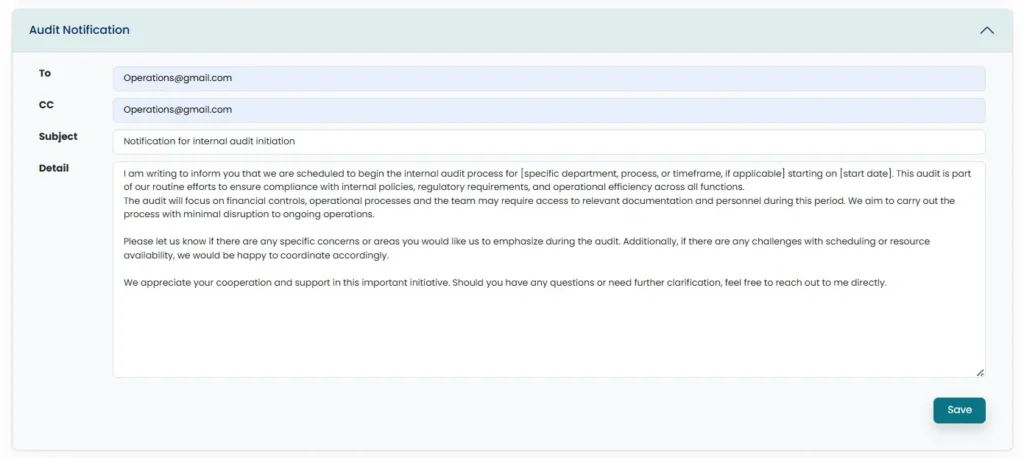
- Click on Audit Notification. Users can optionally skip this step, otherwise, they inform the Auditee by sending an Audit Notification using a predefined template which they can modify. Upon adding the Auditee’s email, updating the Subject, and attaching any supporting document, the User can then “Submit” the Notification, resulting in an email sent through the system along with the attached document.
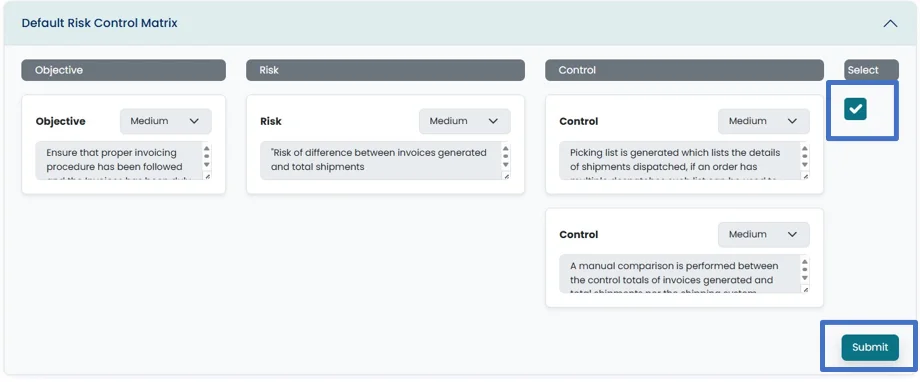
- Click on Default Risk Control Matrix. Depending on the process and sub-process selected in Audit Job section, Default risk control matrix will be populated here from settings.
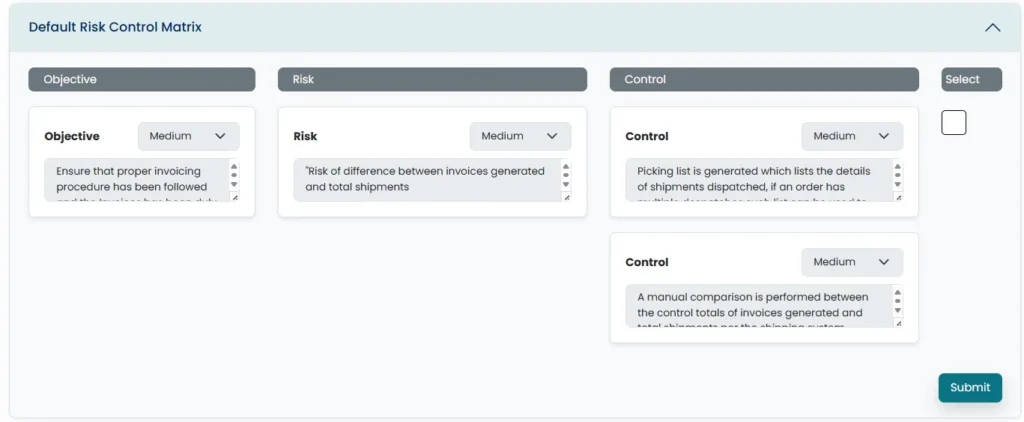
- Users can check the box in order to select the default risk control matrix. And click on Submit.
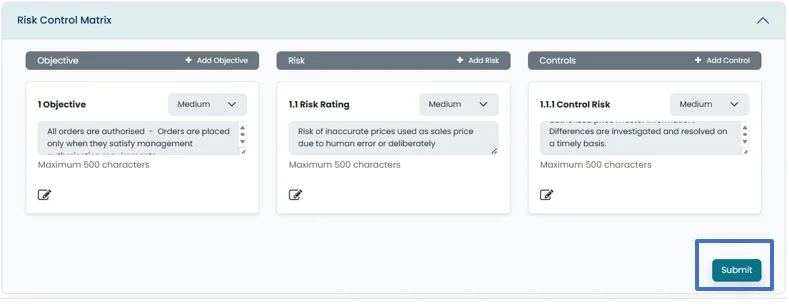
- Other Option to select risk control matrix is that user click on Risk Control Matrix to open the drop- down menu, in order to Add Objectives, Risks and Controls manually

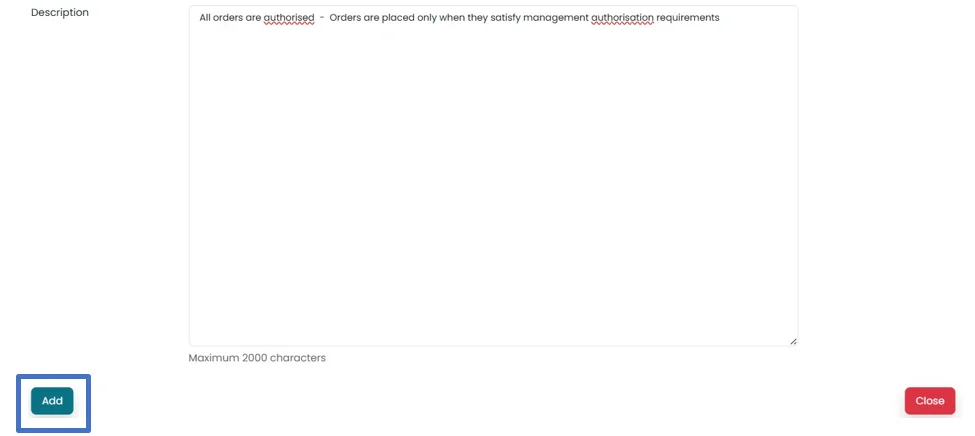
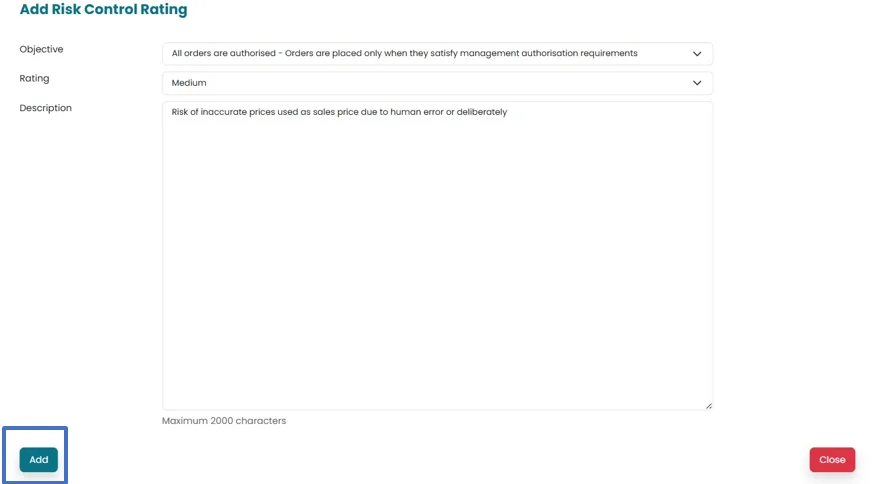
- Click on Add Objective, which will open a new window

- Select the rating from the drop-down menu and populate the area provided for description.
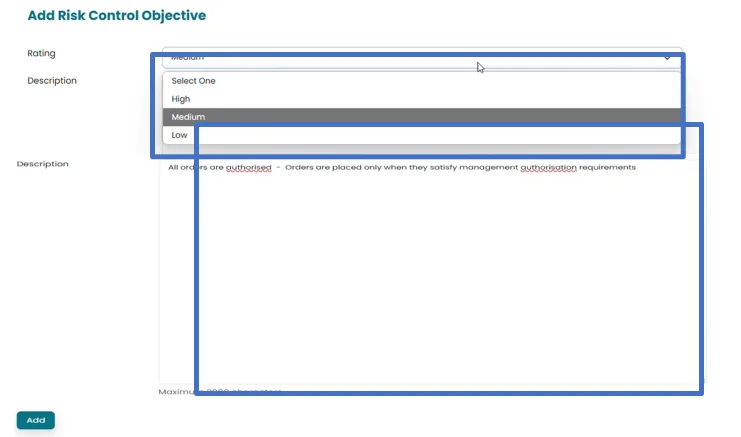
- Click on Add to save the changes.
- Click on add risk, in order to add the risk related to the objective.

- New window will open. Select objective for which User would like to add risk from drop-down menu. Select the rating from the drop-down menu and description in the area provided.
- Click on add button to save the changes.
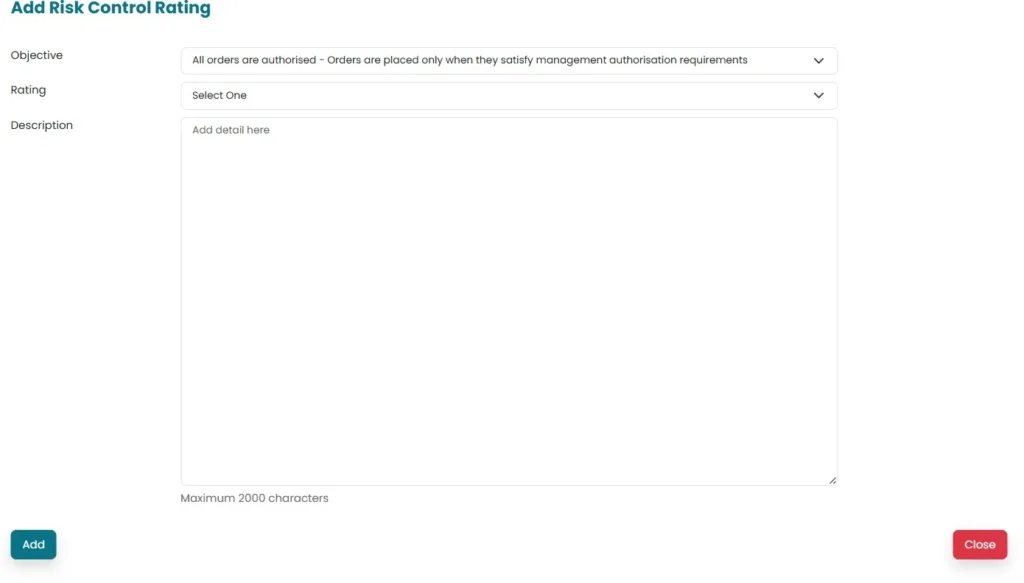
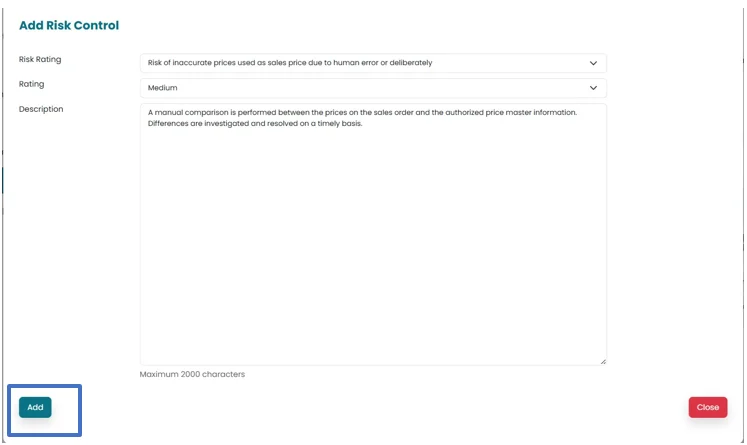
- Click on add control in order to add control related to the risk identified.

- New window will open. Select risk for which user is adding control from the drop-down menu. Select rating from the drop-down menu and add description in the area provided.
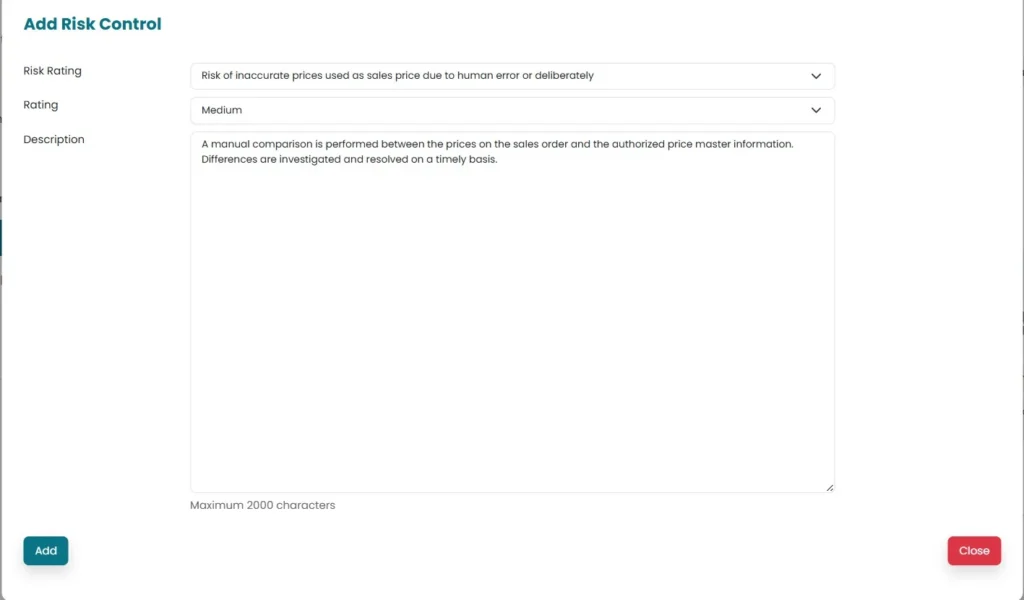
- Click on Add button to save the changes made.
- Once objective, Risk and Controls are saved, Click on Submit button to move the saved information to the next step.
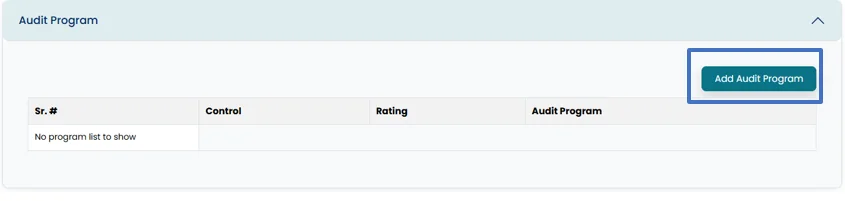
- Click on Audit program to open the drop-down menu
- Click on Add Audit Program.
- New window will open. Select the rating and control for which user need to save the audit program from the drop-down menu.
Add Description of the audit program in the area provided.
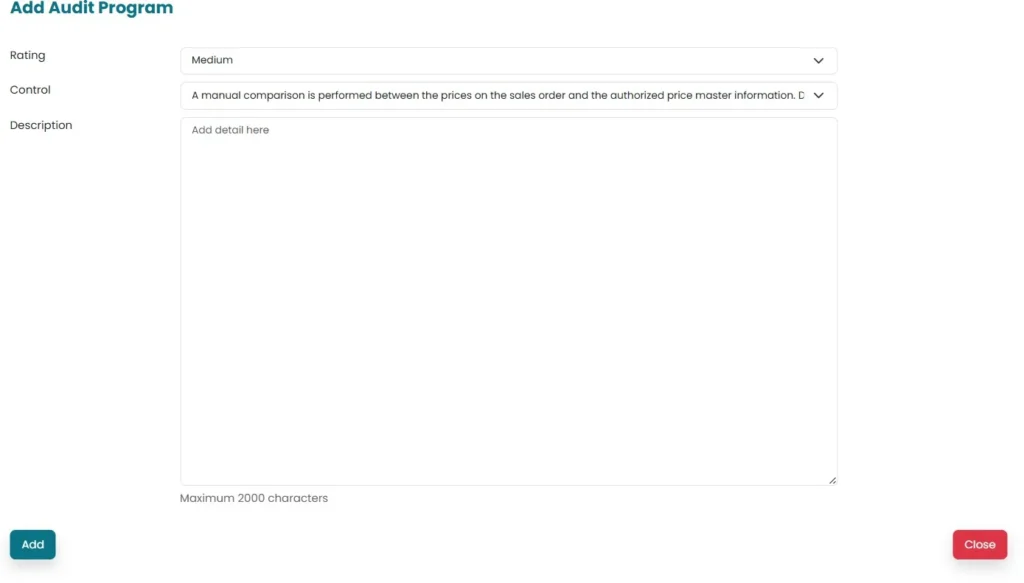
- Click on Add button in order to save the changes.
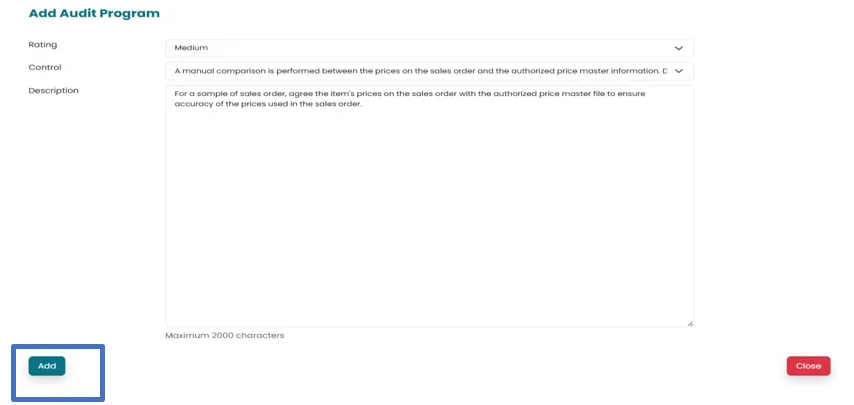
- Click on submit in order to move the information forward for approval.
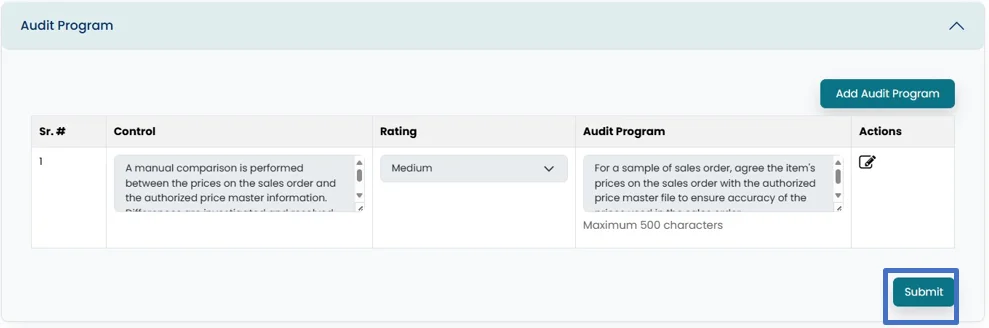
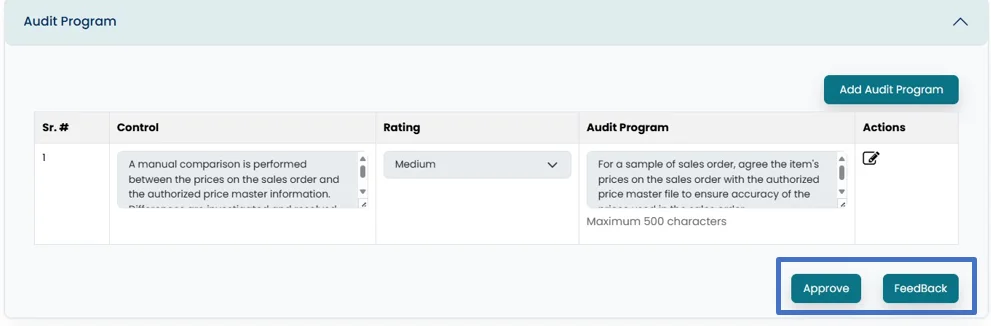
- Approval Button will appear in job approver account. Click on Approval button or provide feedback by clicking on Feedback button
Note: Proposed Job Approver and head of internal audit can Approve the Audit Program.
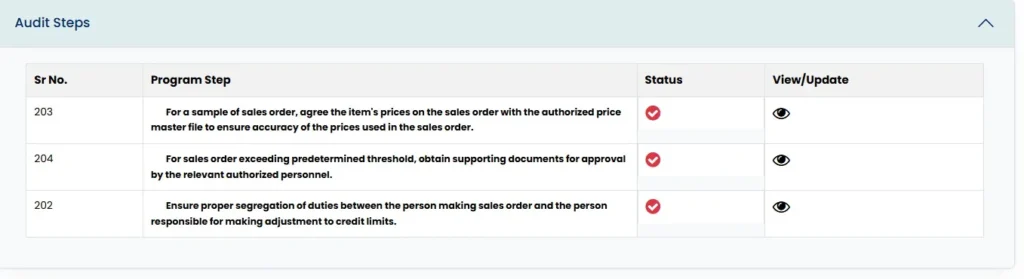
- After approval, the Audit program will forward to the Audit Step section.
- Click on Audit Step to open the drop-down menu. Audit program is populated by system in this step.
- Click on View icon to view or update the audit step.
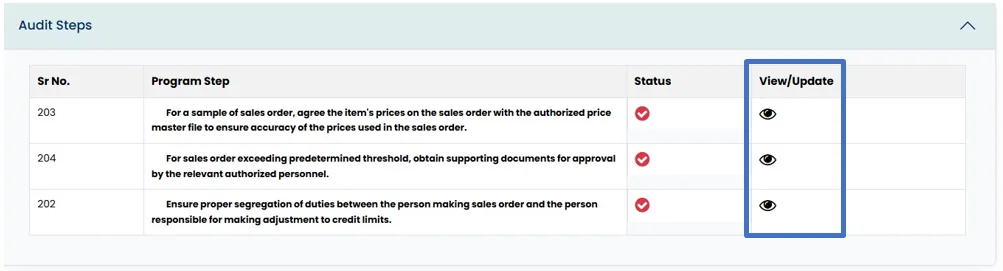
- A new window will open for updating audit step.

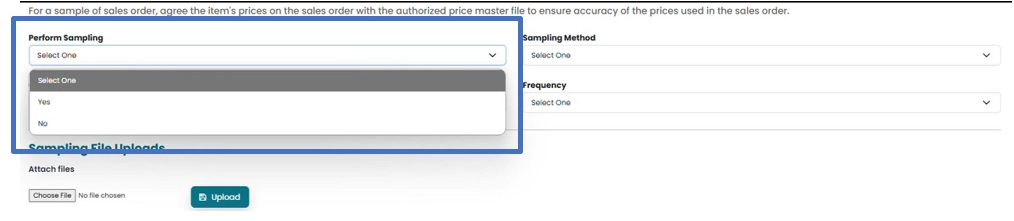
- Click on Perform Sampling to open drop-down menu and select if user want to perform sampling or not.
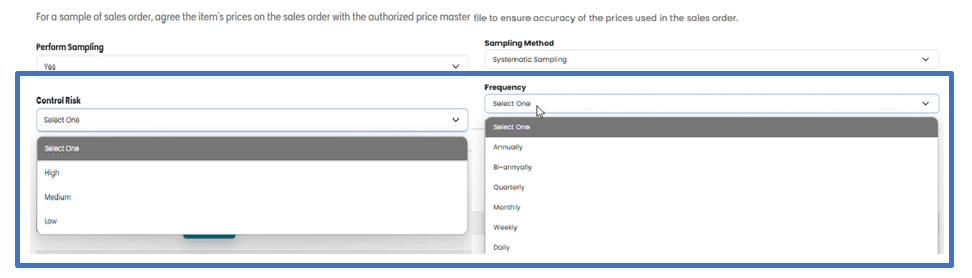
- If Yes, then select the method for sampling, by clicking on sampling method to open drop-down menu.

- Select control risk and frequency of transactions from the drop-down menu.
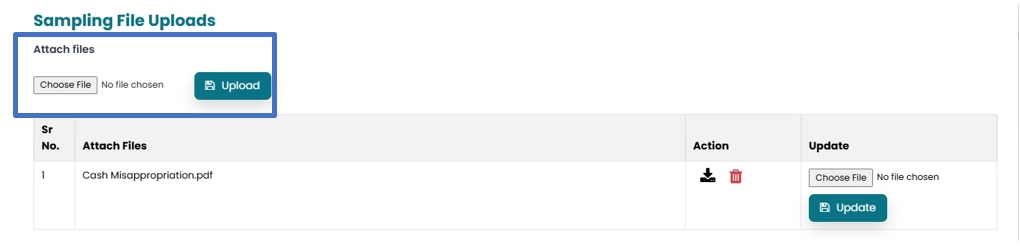
- Add sampling file by clicking on Choose file and then on Upload button.
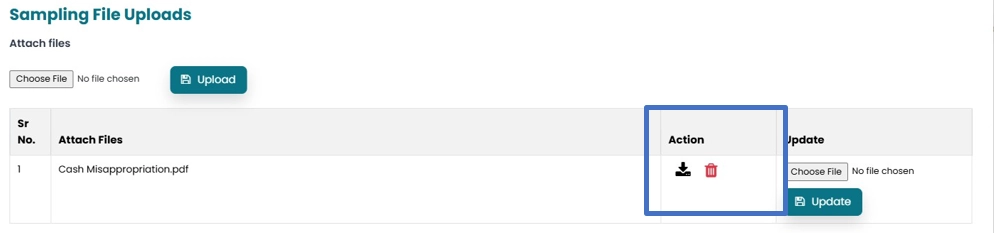
- File can be downloaded by clicking on Download icon and deleted by clicking on Delete icon.
- Describe the procedure performed in area provided for Audit procedure.

- Upload the procedure file by clicking on Choose File and then Upload.
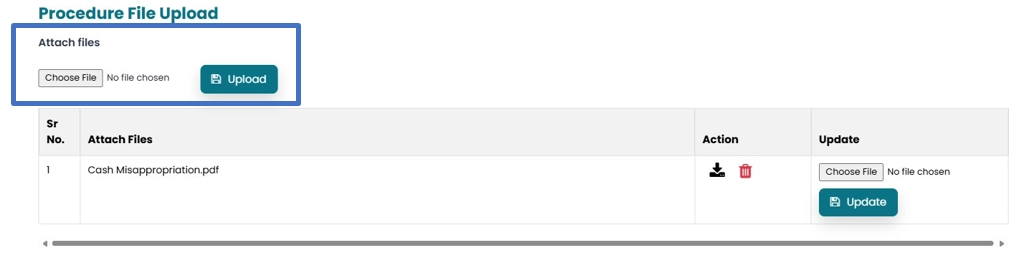
- Populate the space provided for Observations and then click on Add Observation.

- Document of observation can be added by clicking on Choose file and then Upload
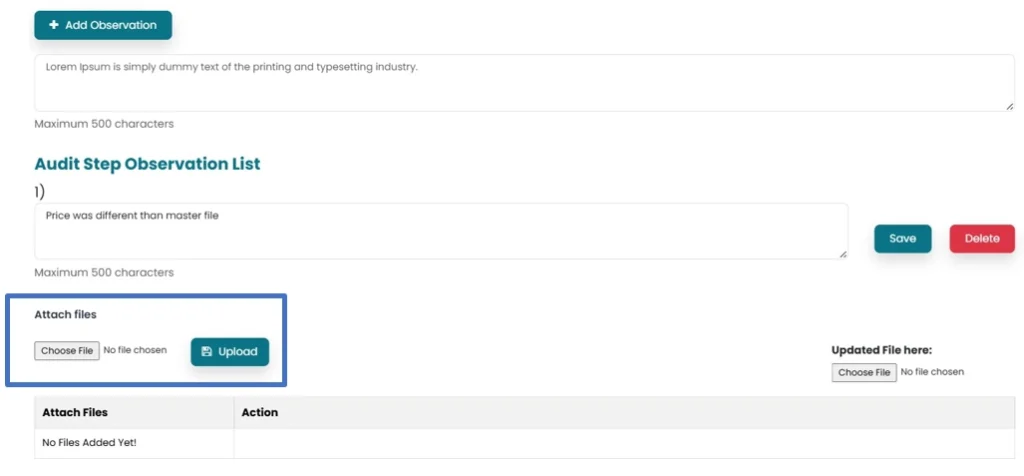
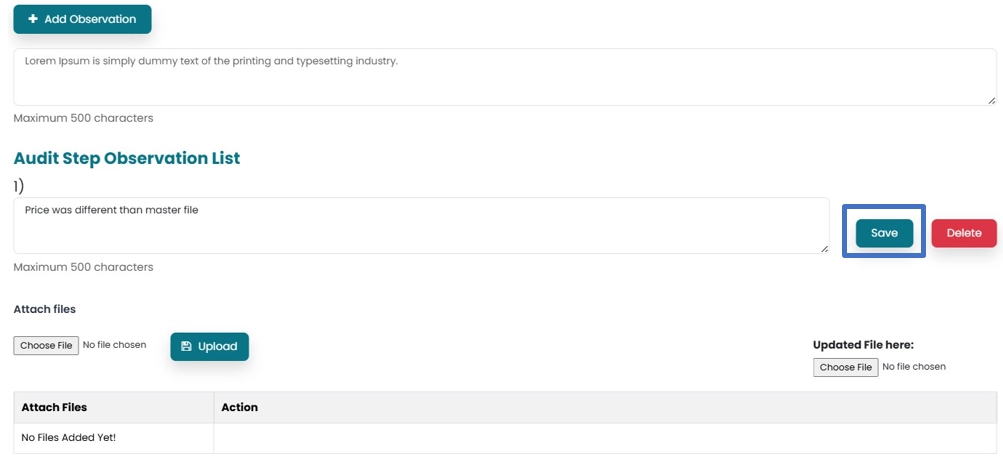
- Click on Save button to save the observation. More Observations can be added by clicking on Add observation.
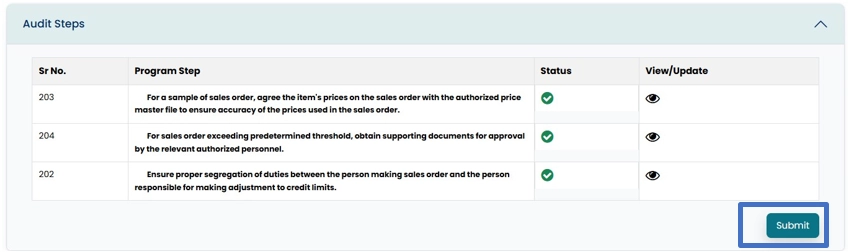
- In order to save the Audit step, click on Save button.
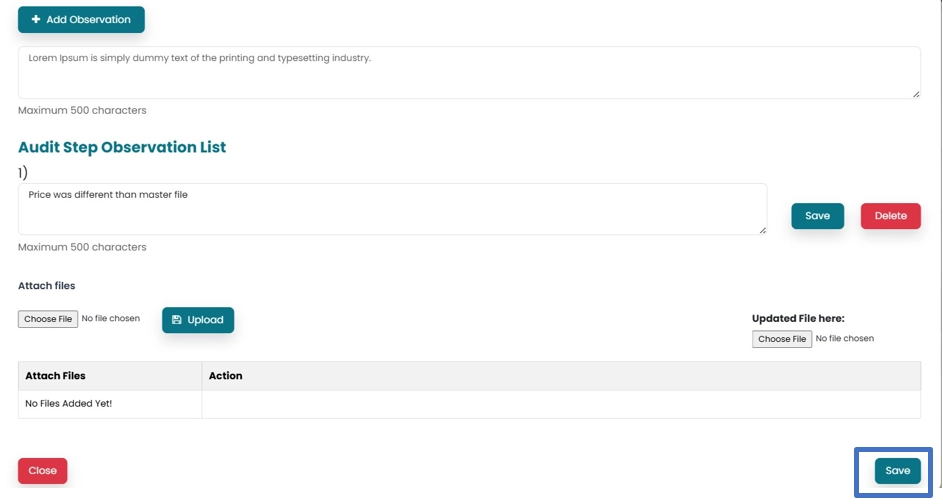
- Once all the Audit steps are performed, documented and saved, click on Submit button to forward the file for approval.
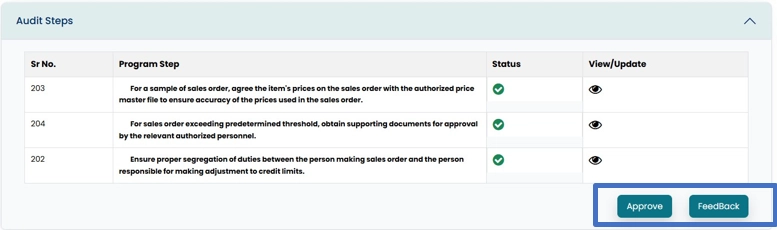
- Approval button will appear on Job approver and IAH account. Then you can click on Approve button to approve the file or click on Feedback button to send feedback to the Resources.
- After Approval, Job will move forward to Reporting and Follow Up section.